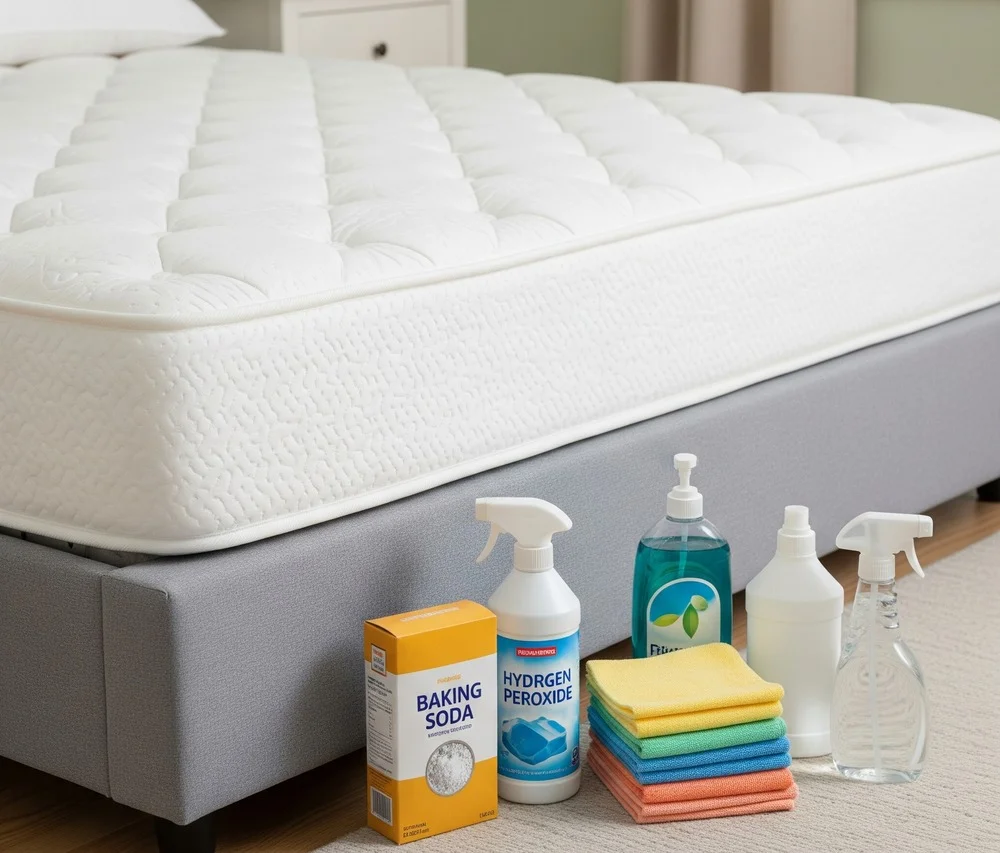
The Ultimate Guide to Removing Mattress Stains
In this Article:
Your mattress is an investment in your health and comfort, but unfortunately, it’s also vulnerable to a variety of stains. Whether it’s coffee from your morning ritual, wine from an evening relaxation session, or other accidents that happen in daily life, knowing how to properly clean your mattress can extend its lifespan and maintain a healthy sleeping environment.
In this comprehensive guide, I’ll walk you through effective methods for treating different types of mattress stains, from common liquid spills to more challenging biological stains. I’ll also share tips on preventing future stains and maintaining your mattress for years to come.
General Principles for Mattress Stain Removal
Before diving into specific stain treatments, let’s establish some universal guidelines that apply to all mattress cleaning situations:
- Act quickly: The sooner you address a stain, the easier it will be to remove. Fresh stains haven’t had time to set into fabric fibers.
- Check the care label: Always consult your mattress care instructions before applying any cleaning solution.
- Never saturate your mattress: Mattresses, especially memory foam, aren’t designed to get wet. Excessive moisture can lead to mold and mildew growth.
- Blot, don’t rub: Rubbing can push stains deeper into the mattress fabric and damage fibers.
- Test in an inconspicuous area first: Before applying any cleaning solution to a visible stain, test it on a hidden area of your mattress to ensure it doesn’t cause discoloration.
The Universal Cleaning Solution
For many mattress stains, a simple homemade cleaning solution works wonders:
DIY Mattress Cleaner:
- 3/4 cup warm water
- 1/4 cup white vinegar
- 1 tablespoon liquid dish soap
Mix these ingredients in a spray bottle. This versatile solution is effective for most common stains and is gentle enough for most mattress materials.
The 4-Step Mattress Stain Removal Process
Regardless of the type of stain, follow this basic four-step approach:
Step 1: Absorb
For wet stains, immediately blot with dry towels or paper towels to absorb as much liquid as possible. Apply pressure, but don’t rub. For dry stains, gently scrape off any solid residue or vacuum it up, then lightly dampen the area with a damp cloth.
Step 2: Apply Cleaner
Lightly spray or dab your chosen cleaning solution onto the stained area. Don’t oversaturate the mattress. Some stains require the solution to sit for 10-15 minutes before proceeding.
Step 3: Blot
Press firmly with a clean, dry cloth or paper towels to absorb the cleaning solution and dissolved stain. Continue blotting until you can’t remove any more moisture. Repeat steps 2 and 3 if necessary.
Step 4: Air Dry
Allow the mattress to dry completely before making the bed. Ideally, place the mattress in direct sunlight, but if that’s not possible, maximize air circulation with open windows and fans. Depending on the size of the stain, drying may take several hours.
Optional Step: Deodorize Once dry, sprinkle baking soda over the area to absorb any lingering odors. Let it sit for at least 30 minutes (longer is better), then vacuum thoroughly.
Specific Stain Removal Methods
Different stains require different approaches. Here’s how to tackle the most common mattress stains:
Blood Stains
Blood stains can be particularly challenging because they contain proteins that set quickly. Act fast and use cold water only, as warm or hot water will cause the stain to set permanently.
What you’ll need:
- Cold water
- White vinegar or 3% hydrogen peroxide
Steps:
- Blot up any fresh blood with cold water and a clean cloth.
- Apply a small amount of white vinegar or hydrogen peroxide directly to the stain.
- If using vinegar, let it soak for 10 minutes, blot dry, and repeat if necessary.
- If using hydrogen peroxide, the blood stain will foam upon contact (this is normal). Blot away the foam and let the area sit for 5 minutes.
- Dab with a cloth dipped in cold water to rinse away the cleaner.
- Blot dry and allow to air dry completely.
Pet Urine
Pet accidents happen, and quick action is essential to prevent lingering odors and potential resoiling.
What you’ll need:
- Paper towels or absorbent cloth
- Enzyme-based pet stain cleaner
- Heavy books (optional)
Steps:
- Blot up as much urine as possible with paper towels or an absorbent cloth.
- For extra absorption, place several layers of paper towels over the spot, add some weight (like heavy books), and leave for a few minutes.
- Dab the area with a clean cloth dipped in cool water to rinse.
- Apply an enzyme-based cleaner specifically formulated for pet stains.
- Allow the cleaner to sit for about 15 minutes (or as directed on the product label).
- Blot thoroughly to remove excess moisture.
- Air dry completely.
- If odors persist after drying, try a pet-odor neutralizer.
Human Urine
Human urine requires a different approach than pet urine.
What you’ll need:
- 8 ounces hydrogen peroxide
- 3 tablespoons baking soda
- 1/2 teaspoon dish soap
- Spray bottle
Steps:
- Blot up as much urine as possible.
- Mix the hydrogen peroxide, baking soda, and dish soap in a spray bottle. Shake gently to combine.
- Spray the solution onto the stained area.
- Let it sit for about 10 minutes.
- Blot with a clean, dry cloth.
- Repeat if necessary.
- Allow to air dry completely.
Vomit
Vomit stains are challenging because they can contain both biological material and food particles.
What you’ll need:
- Scraper (like a plastic card)
- Baking soda
- Vacuum with upholstery attachment
- Enzyme-based cleaner
Steps:
- Carefully remove any solid residue using a scraper.
- Blot with paper towels or rags to absorb as much moisture as possible.
- Sprinkle a generous amount of baking soda over the area to absorb odors and moisture. Let sit for about 15 minutes.
- Vacuum up the baking soda using an upholstery attachment.
- Apply an enzyme-based cleaner or the vinegar/dish soap solution.
- Allow to sit for 15 minutes.
- Blot to absorb excess moisture.
- Air dry completely.
- If odors remain after drying, repeat the process.
Coffee
That morning coffee can easily become a mattress disaster. The caffeine and tannins in coffee make it a challenging stain to remove.
What you’ll need:
- Vinegar and dish soap solution (in a bowl, not a spray bottle)
- Clean cloths
- Laundry detergent (if coffee contained cream or sugar)
Steps:
- Blot up as much liquid as possible if the spill is fresh. If it’s already dry, slightly dampen with warm water.
- Using a light-colored clean cloth, carefully blot the stain, starting at the edges and moving inward to prevent spreading.
- Continue blotting until no more brown color transfers to your cloth.
- Dip a clean cloth in the vinegar/dish soap solution and blot the stain from outside edges inward.
- Blot dry with a clean cloth.
- If the coffee contained cream and/or sugar, also dab a mixture of laundry detergent and warm water onto the stain.
- “Rinse” by dabbing with a fresh wet cloth, then blot dry.
- Allow to air dry completely.
Wine
Red wine is particularly notorious for creating stubborn stains that can be difficult to remove if not addressed promptly.
What you’ll need:
- Cold water
- Salt
- OR a commercial product like Wine Away
Steps:
- Blot up as much wine as possible immediately with paper towels or a clean cloth.
- If using Wine Away, apply according to the label’s instructions.
- If using salt: a. Dab cold water onto the stain with a wet cloth and blot away excess liquid. b. Sprinkle salt generously over the stained area and wait three minutes. c. Dab with cold water and gently rub into the stain. d. Blot dry. e. Repeat the sprinkle, rub, and blot process until the stain lifts.
- Allow to air dry completely.
Oily Foods or Lotions
Oil-based stains can be tricky because they tend to linger even after the visible stain is gone. They often become more apparent over time as they collect dust.
What you’ll need:
- Scraper (like a credit card)
- Baking soda
- Vacuum
- Dawn dish soap
- Warm water
Steps:
- Scrape off as much of the grease or oil as possible using a plastic card.
- Sprinkle a generous amount of baking soda over the stain. The powder will absorb the oil.
- Let it sit for about 20 minutes.
- Scrape away the baking soda and vacuum the area thoroughly.
- If staining remains, mix a few drops of Dawn dish soap (known for its oil-cutting properties) with warm water.
- Dab the solution onto the stain.
- Blot with a dry towel to absorb moisture.
- Allow to air dry completely.
Preventing Future Mattress Stains
Prevention is always easier than removal. Consider these protective measures to keep your mattress stain-free:
Mattress Protectors
A waterproof mattress protector is your first line of defense against stains. These fitted sheets include a waterproof layer that prevents liquids from reaching your mattress. They’re easy to remove and machine washable, making cleanup much simpler when accidents occur. They provide basic protection without changing the feel of your mattress.
Mattress Pads
Mattress pads offer a bit more cushioning than protectors while still providing stain protection. They wrap around the sides of your mattress and add a layer of comfort without significantly altering your mattress feel. Most are machine washable and provide good protection against common spills.
Mattress Toppers
While primarily designed to add comfort, mattress toppers also provide an extra layer of protection for your mattress. Made from materials like latex, memory foam, or down, toppers can significantly change the feel of your mattress while adding an additional barrier against stains. However, many toppers themselves aren’t waterproof, so consider using a mattress protector over the topper for complete protection.
When to Consider a New Mattress
Even with diligent cleaning, mattresses don’t last forever. Consider replacing your mattress if:
- It’s more than 7-10 years old
- It has numerous stains that cleaning can’t fully remove
- You notice sagging or indentations
- You wake up with pain or stiffness
- You’re experiencing increased allergy symptoms
- Your sleep quality has declined despite cleaning
Final Thoughts
Taking prompt action is the key to successful stain removal. With the right approach and cleaning solutions, most mattress stains can be effectively treated. Remember that prevention through mattress protectors is much easier than stain removal, and maintaining a clean, stain-free mattress contributes significantly to your sleep quality and overall health.
By following this guide, you’ll be equipped to handle virtually any mattress mishap, ensuring your investment remains clean, fresh, and supportive for years to come.
This article is for informational purposes and should not replace advice from your doctor or other medical professional.
Frequently Asked Questions
0
